Codex CLI: CC-Switch Quick Configuration
Codex CLI is best configured through CC-Switch. CC-Switch writes the required Codex configuration and authentication data automatically, so Codex can use HCAI after the configuration is enabled.
Access Information
| Item | Value |
|---|---|
| Website URL | https://ai.hctopup.com |
| API request URL | https://ai.hctopup.com/v1 |
| API Key | Use the Key created in HCAI |
| Provider name | HCAI is recommended |
Configuration Steps
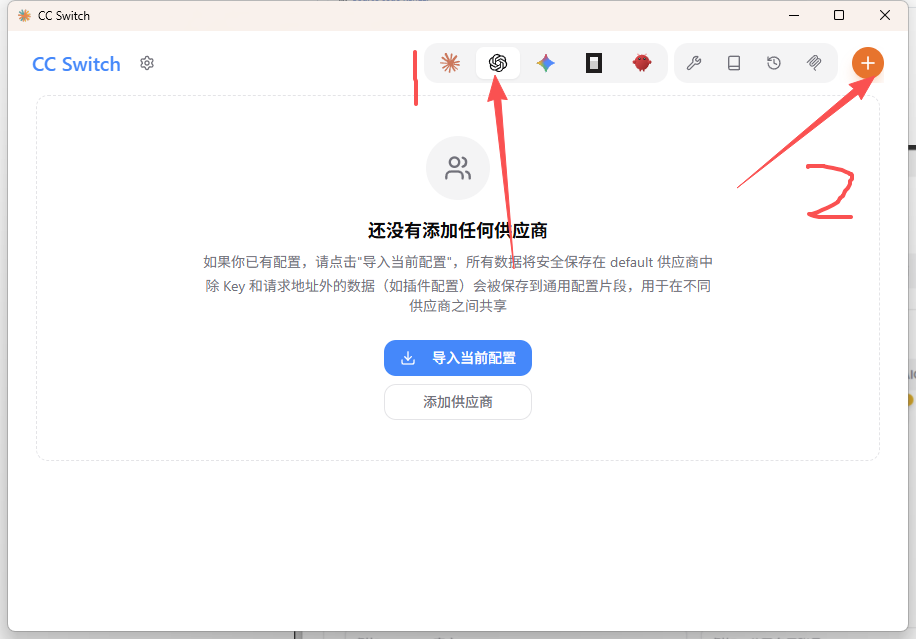
Open the Codex configuration page.
- Open CC-Switch.
- Click the Codex icon tab at the top.
- Click the "+" button in the upper-right corner to add a provider.
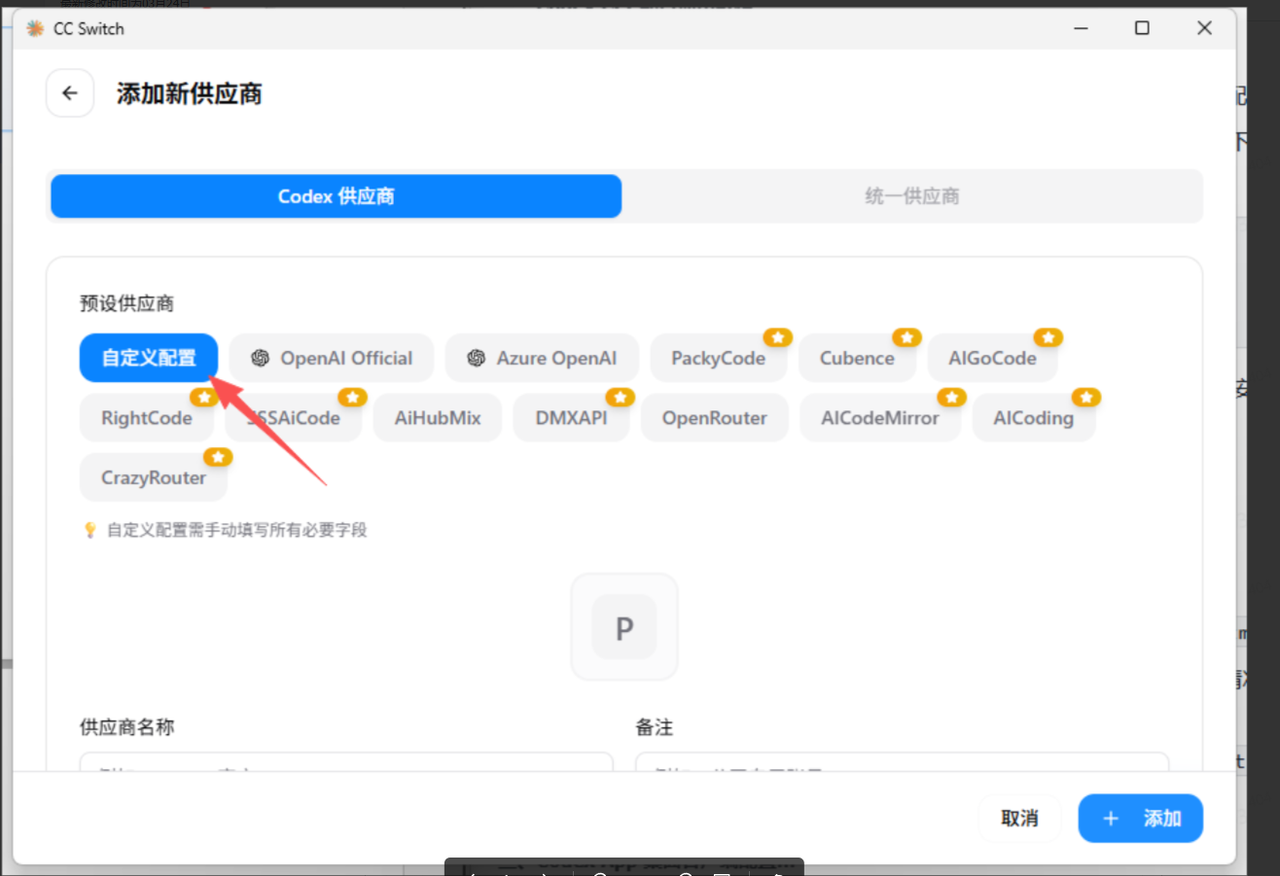
Choose custom configuration.
On the add-provider page, select "Custom Configuration".
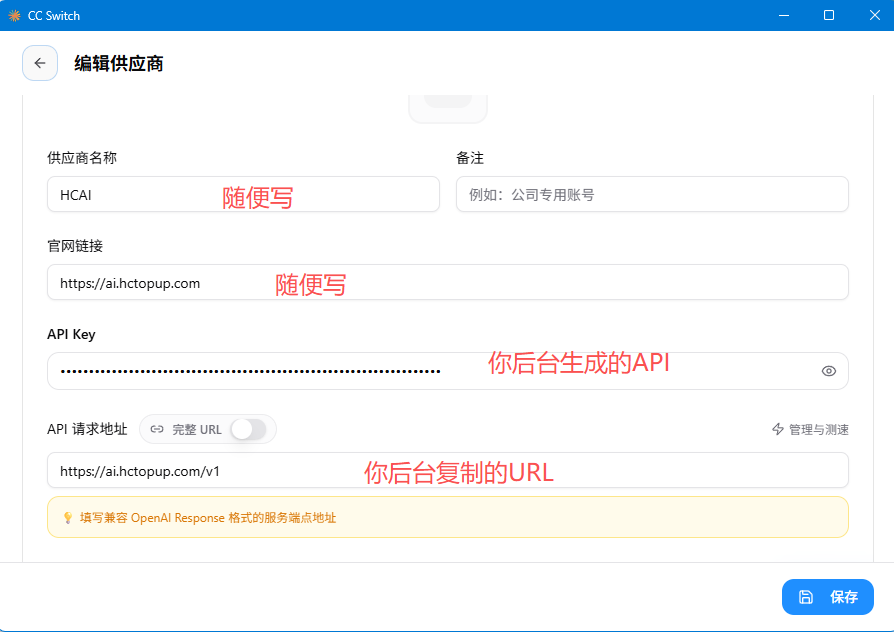
Fill in the provider basics.
- Provider name: choose a custom name, such as
HCAI. - Website URL: enter
https://ai.hctopup.com. - API Key: enter the Key created in the HCAI console.
- API request URL: enter
https://ai.hctopup.com/v1.
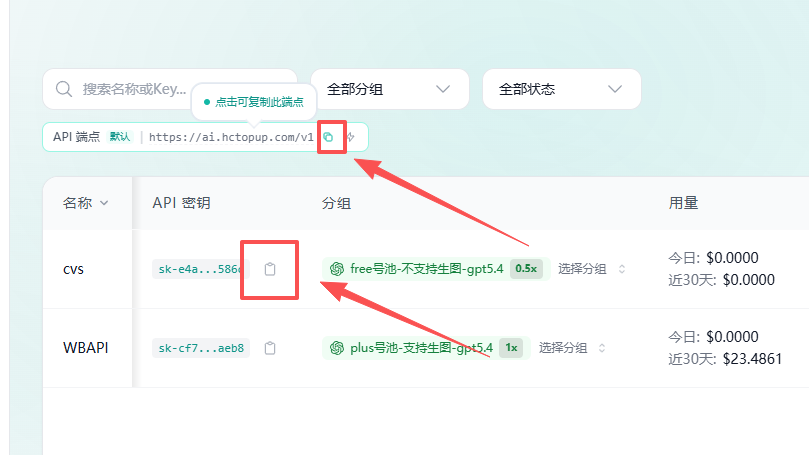
You can copy the API request URL and Key after creating the API in the HCAI console.
- Provider name: choose a custom name, such as
Save the configuration.
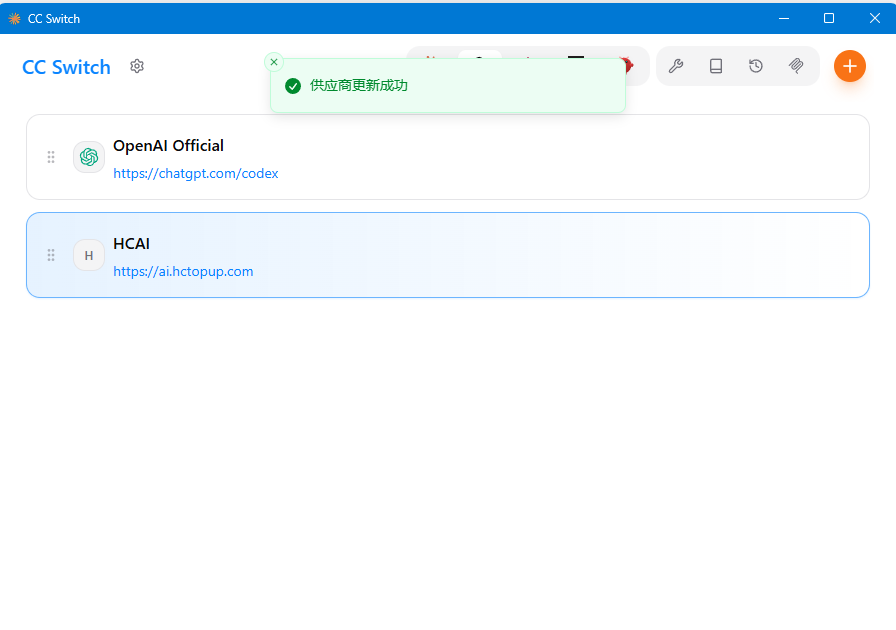
Return to the main page and enable the configuration.
Back in the Codex provider list, confirm that the
HCAIconfiguration is marked as active. After it is enabled, CC-Switch writes the Codex configuration and login data automatically.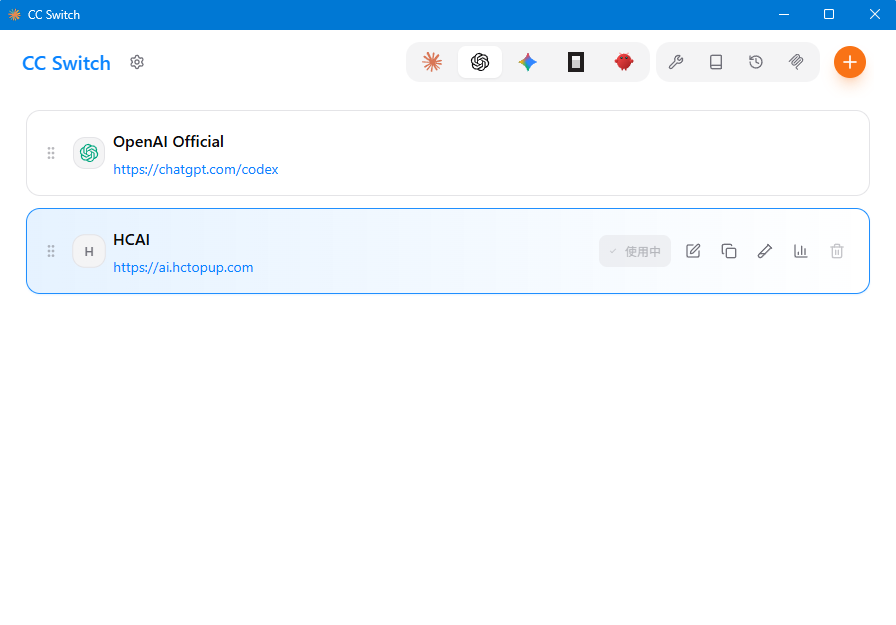
Then reopen Codex CLI:
sh
codex